Friday, November 19, 2010

Tarfful Boots

Just a sketch of what I am thinking about doing.


 Even though I cut the feet cutout is following the lines of the shoe, the foam foot will be symmetrical so I will only need to make one foot. Then I will cast 2 with 1 mold.


My Chewie boot (the brown one!) as a comparison:


Both heels are 7", but my Chewie boot is a high heel, and the Tarfful shoe is a regular high top sneaker. This is the reason the toe looks higher.

Friday, November 5, 2010

Repairs already...

Broken Bowcaster

My daughter stood on top of the Bowcaster while we were packing things in the van after Trunk or Treat. It revealed a flaw. The screws were too short. I fixed it and it just needs some touch-up paint.

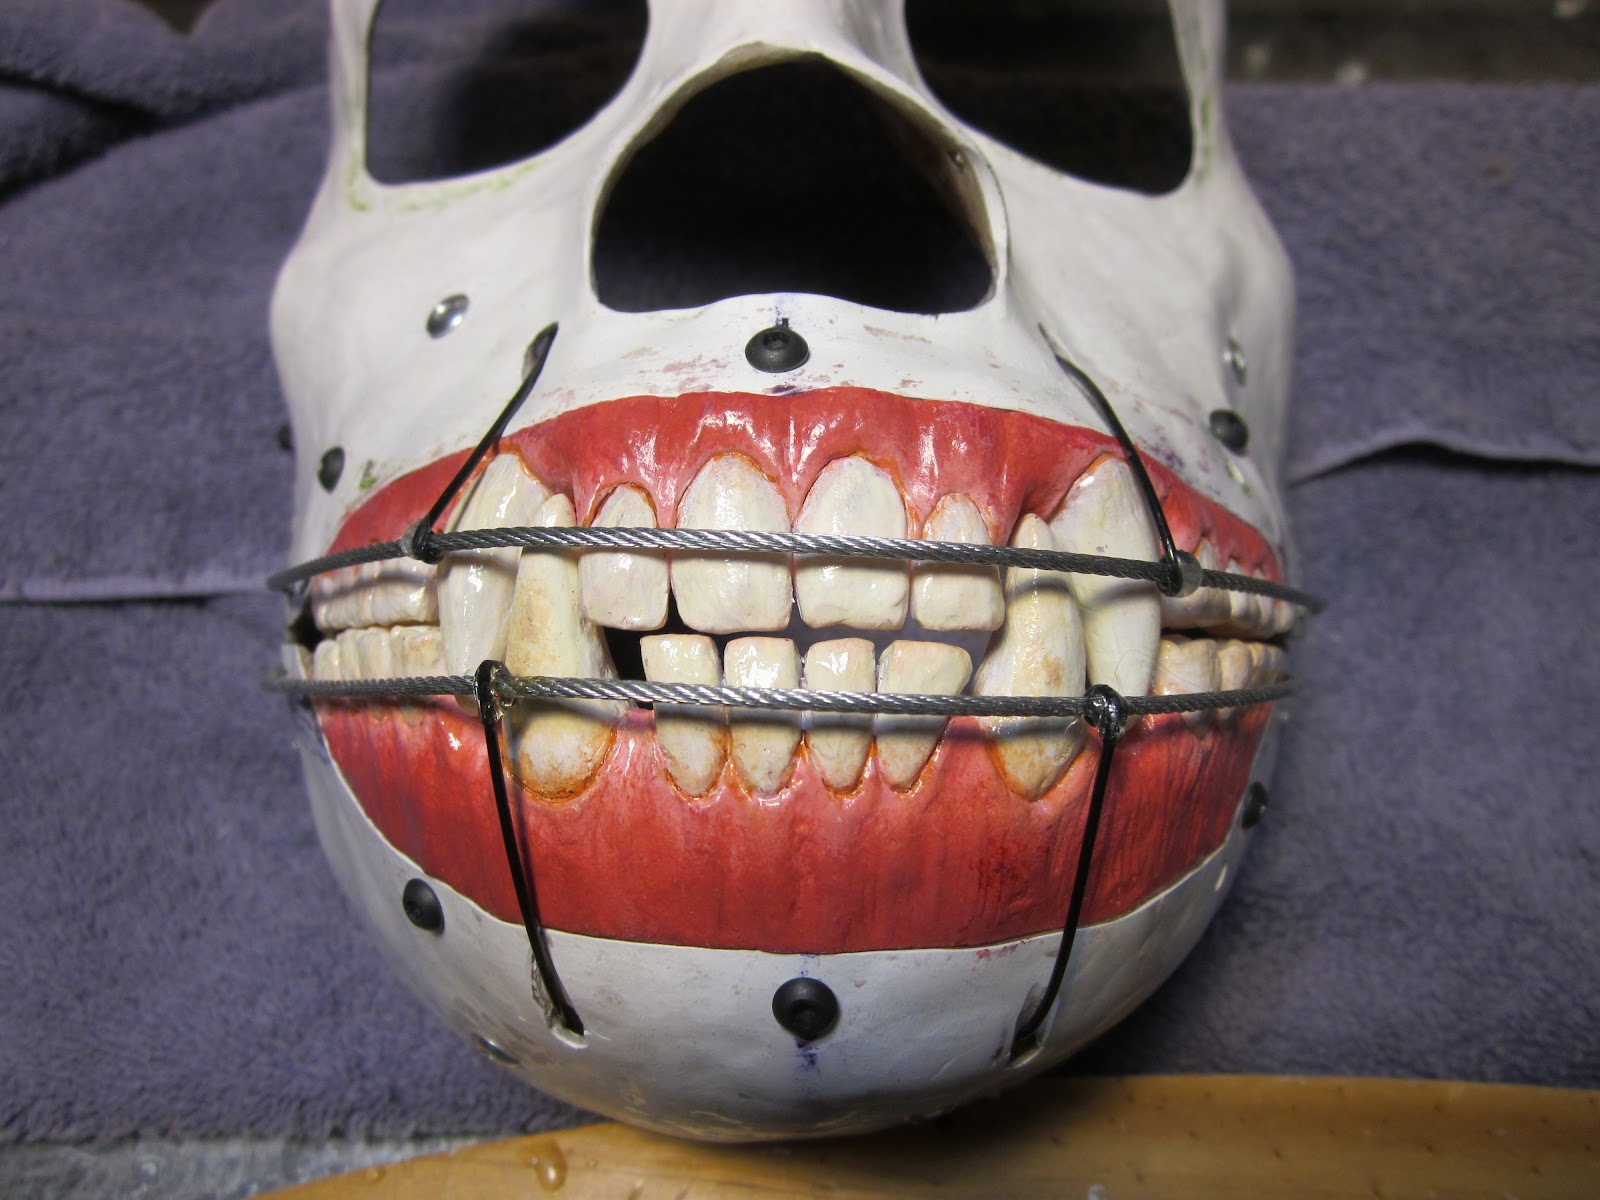
I took a close up of my mask and realized that the eye holes were too far apart. I am going to trim the inner eye of the silicone mask, and it should make the eyes better. I can't believe I didn't notice that till now.


All my X-ACTO blades are DULL. I have to get more. I'll post a pic after I get more blades tonight.

Other repairs made:

-Shortened hair on the back of the mask, and added a little more.
-Split the wig down the back to conform to my head better. I hope it doesn't get noticed. I may have to revisit that fix later.
-Foam padding added on top of the head to give more realistic profile.
-Jaw mechanism trimmed because it was hitting me in the throat when I looked down.
-Punched single strands of hair around the eyes and mouth.
-Used a new hair spray Got2B. It is now a hair helmet. I am worried it has a wet plastic look now, but my wife says its fine. We'll see. :) The good news is that the hair DOES NOT move (hair doesn't fall in my eyes when I look down). That stuff is strong.

Monday, November 1, 2010

Finished...for now


My cat is photobombing! Click for larger images.


I know I got lazy with the last few blogs. /shrug I'm tired :)

Painting and Punching


Following the advice of professionals in this video, I painted the mask with pigmented silicone.


After the lips were painted brown and the whole thing had time to cure, I started punching (rooting) the hair. This video is a quick example..


Lip Mechanism

The concept for this part is that the wires will move the lips on the silicone mask when the jaw opens. This will create a more lifelike appearance when the mouth is opened. It sorta makes it snarl. I started by drilling holes above the canine teeth on the top and bottom jaw. Then I used RC aircraft cables with nylon tubing to create the mechanism.


I had trouble hot gluing the tubes in place, then ended up being ripped off too much.


Next I make a few homemade cable ties and riveted them in place. It worked ok, but they started cracking (I will find professional grade plastic pieces in the future) so I added hot glue for damage control.


The cable ended up being too stiff to move the jaw easily, and kept dislodging the nylon tubes, so I replaced it with a nylon coated steel fishing line. Woot for Gander Mountain being so close to my house!


The finished lip wires. After this, two springs were mounted on either side of the teeth to help keep the jaw closed.


 Below you can see the spring. 


I glued some flexible cloth onto the lip wire so that the silicone sealant would have more surface area to attach to.